
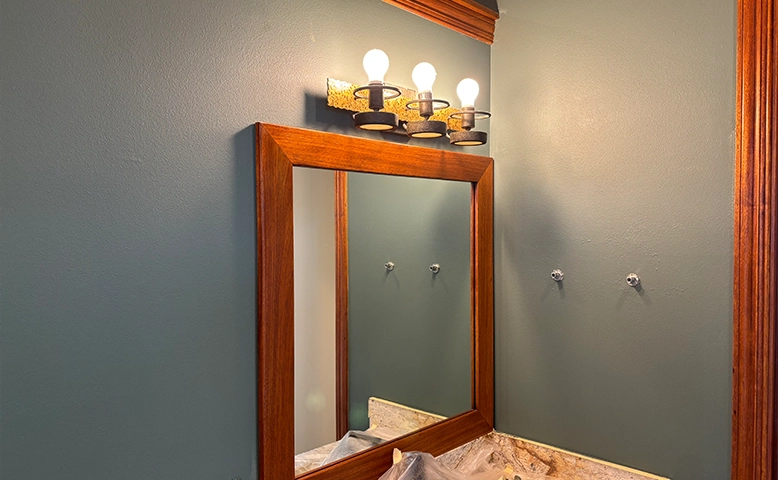
A fresh coat of paint can change how your home feels. It can make a dark room feel bright. It can make a busy space feel calm. Best of all, it can do this without a full remodel. That is why interior home painting remains one of the simplest ways to give your home a real makeover.
Still, painting inside your home is more than just choosing a lovely color. You’ll also need a solid plan, careful preparation, and a few established routines. Otherwise, even a great hue may appear uneven or out of place. The good news is that you don’t have to be a design expert to get great outcomes. All you need are explicit steps that work in real households.
This blog will teach you seven practical strategies for saving time, reducing stress, and creating rooms that seem fresh and welcome. Each suggestion focuses on what’s most important to you: greater outcomes, fewer waste, and a house you love every day.
1) Start With the Room’s Mood, Not Just the Color
Before you pick paint, stop and think about how you want the room to feel. This step helps you avoid costly color mistakes. A bedroom may need soft, restful tones. Meanwhile, a kitchen may feel better with light, clean shades. A home office may need a color that helps you focus.
Many people choose paint from a tiny sample card. However, a whole room feels very different. Light changes color during the day. Lamps also change how paint looks at night. Because of that, always test colors on the wall first.
“The best paint color is the one that fits the way you live.”
Ask yourself these questions before you decide:
- Do I want this room to feel calm or lively?
- Does this space get a lot of natural light?
- Will this color match my floors and furniture?
When you begin with mood, your interior home painting project feels more personal. As a result, your home makeover looks thoughtful, not rushed.
2) Clean and Repair Walls Before You Paint
Good paint cannot hide dirty walls or damaged surfaces. In fact, paint often makes flaws easier to see. So, before you open a can, take time to clean and repair the room.
Dust, grease, and fingerprints can stop paint from sticking well. Kitchens and hallways often need extra cleaning. Next, look for nail holes, small cracks, dents, and peeling spots. Fill holes with spackle, smooth rough areas, and let repairs dry fully.
Here is a simple prep checklist:
| Clean Surface | Repair Damage | Protect the Space |
| • Wipe off dust and dirt | • Fill nail holes | • Move furniture away |
| • Remove grease spots | • Patch small cracks | • Cover floors with drop cloths |
| • Let walls dry fully | • Sand rough patches | • Use painter’s tape neatly |
This step may not feel exciting. Still, it sets up the whole project. When your walls are clean and smooth, paint goes on more evenly. As a result, the finished room looks brighter, cleaner, and more polished.
3) Use Samples the Smart Way
Paint samples save money, time, and regret. Yet many people use them too fast. They brush one small square on the wall and decide right away. That can lead to the wrong choice.
Instead, paint a few larger sample areas in different spots. Put one near a window. Put another in a darker corner. Then check them in the morning, afternoon, and evening. Light changes more than most people expect.
Also, compare the sample to your trim, flooring, and furniture. A color that looks great alone may clash with warm wood or cool gray tile. Therefore, test colors in the real room, not just in your mind.
“A sample costs a little, but a repaint costs a lot.”
Try this simple plan:
- Test two or three shades, not ten.
- View each sample in daylight and lamp light.
- Leave the samples up for at least one full day.
Smart sampling makes interior home painting less stressful. More importantly, it helps you choose a color you will still love next month.
4) Pick the Right Finish for Each Space
Color matters, but finish matters too. The finish changes how paint looks, cleans, and wears over time. If you pick the wrong one, the room may show marks too easily or reflect too much light.
Flat and matte finishes hide wall flaws well. That makes them a common choice for bedrooms and ceilings. Eggshell and satin have a soft glow and clean more easily. Because of that, they work well in living rooms, halls, and many family spaces. Semi-gloss has more shine and often works best on trim, doors, and bathrooms.
Best finish matches
Low-traffic rooms
Use flatter finishes where walls do not get touched much.
Busy family areas
Choose finishes that wipe clean more easily.
Trim and detail work
Use a shinier finish to make edges stand out.
When you match the finish to the room, the paint works harder for you. So, your walls stay attractive longer. That is a big win for any interior home painting project.
5) Do Not Skip Primer When It Really Counts
Some people think primer is optional every time. That is not always true. In some rooms, you may not need much primer. However, in other cases, primer makes a huge difference.
Use primer when you paint over dark colors, fresh patches, stains, or glossy surfaces. It also helps when you switch from a strong color to a light one. Without primer, the old color may bleed through. Then you may need extra coats later.
Primer helps paint stick better and look more even. It can also help cover watermarks and repaired spots. So, while it adds one more step, it often saves effort in the long run.
Use primer when:
- You patched several wall areas
- You are covering stains
- You are changing from dark to light paint
This tip protects both your time and your finish. When you use primer in the right places, your walls look smoother and more uniform. That means fewer surprises and better results from your interior home painting work.
6) Use Better Technique for Smoother Results
Even a great color can look messy with poor technique. The good news is that small changes can improve your results fast. First, do not overload the brush or roller. Too much paint causes drips and thick lines. Instead, use steady, even coats.
Cut in around the edges first, but do not wait too long before rolling the wall. This helps the sections blend together better. Also, work in small areas so the paint stays wet as you go. That reduces lap marks.
Keep these habits in mind:
- Stir paint well before and during use
- Roll in a “W” or “M” pattern
- Keep a wet edge as you move across the wall
Also, do not rush the second coat. Let the first one dry as directed. Then apply the next coat evenly. As a result, the color looks richer, and the finish looks smoother. Good technique turns an average painting into a much better home makeover.
7) Plan Around Lighting and Room Size
Paint color does not live alone. It responds to lighting, space, and layout. As a result, the same paint can feel fresh in one space but boring in another. So, always consider the room itself before committing.
Light hues typically make small rooms feel more spacious. Meanwhile, richer colors can make vast rooms feel more welcoming and grounded. North-facing rooms may feel cooler, whilst bright sunny spaces may make colors appear warm. That is why lighting should influence your decision.
Also, consider the flow between rooms. If one area links to another, the colors should feel natural together. They do not have to match perfectly. Still, they should not fight each other.
A smart color plan can help you:
- Make tight rooms feel bigger
- Make large rooms feel cozier
- Create a smoother look from room to room
This step helps your interior home painting project feel balanced. In the end, your whole home feels more connected and comfortable.
8) Finish Strong With Cleanup and Touch-Ups
The final stage matters more than many people think. A beautiful room can lose its charm if the cleanup feels rushed. So, slow down and finish strong.
First, remove painter’s tape carefully. Do this at the right time so the paint does not peel. Next, check the walls in both daylight and lamp light. Small misses often show up only after the room dries. Then do simple touch-ups with a small brush.
Store leftover paint in a sealed, labeled container. Write the room name and date on the lid. Later, this makes touch-ups much easier. Also, keep a note of the color and finish for future use.
Before you call the job done, ask:
- Do the edges look clean?
- Are there thin spots or roller marks?
- Does the room feel fresh and complete?
A careful finish protects all your hard work. It also helps your makeover last longer. When details get attention, your home looks cared for, polished, and ready to enjoy.
Conclusion
A beautiful home makeover does not always necessitate new furnishings or expensive renovations. Often, it begins with careful planning and a few established painting habits. When you choose colors with purpose, properly prep your walls, use the perfect finish, and slow down on technique, your home has a better chance of shining. That is the true benefit of interior home painting. It makes your rooms seem cleaner, brighter, calmer, and more like you.
If you want a more polished result with less stress, Mark Dunlap Painting LLC provides trusted interior home painting backed by decades of hands-on experience in Hawaii.